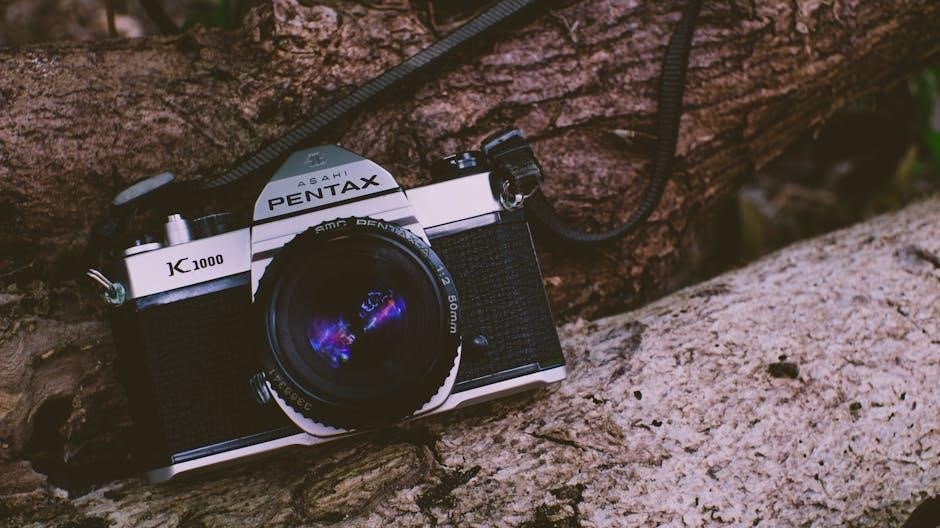
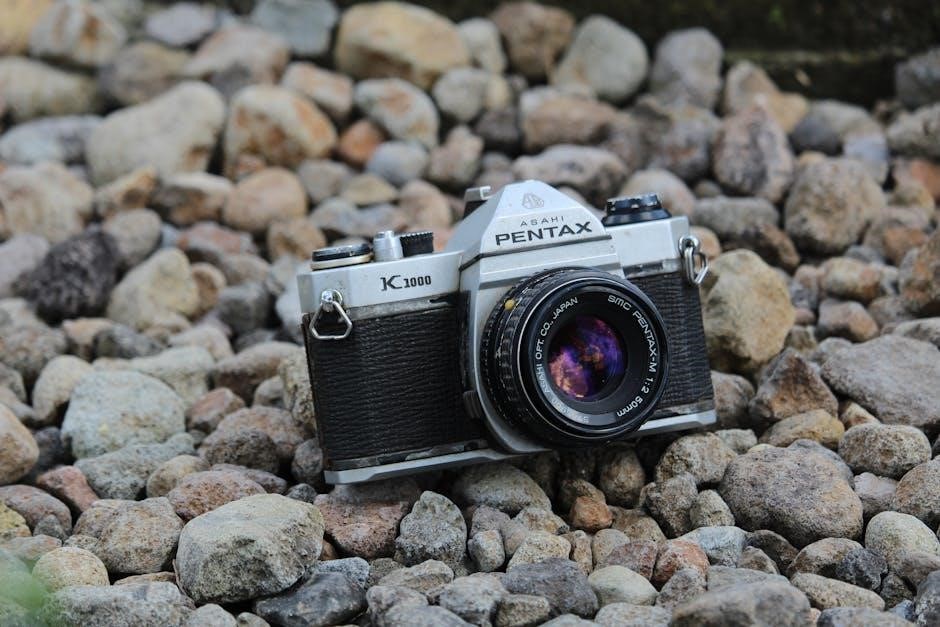
The Pentax ME Super, introduced in 1980, is a compact and lightweight 35mm film SLR camera. It features a durable metal chassis, manual focus, and aperture priority mode, making it ideal for both beginners and advanced photographers. With a hot shoe for external flash and compatibility with K-mount lenses, it offers versatility for various shooting scenarios.
1.1 History and Development of the Pentax ME Super
The Pentax ME Super, introduced in 1980, is a 35mm film SLR camera that became a landmark in Pentax’s M series. Known for its compact and lightweight design, it was developed to appeal to both amateur and professional photographers. The ME Super featured a metal chassis and durable plastic exterior, ensuring longevity. It was the first Pentax model to include aperture priority mode, making it versatile for various shooting conditions. Its release marked a significant step in Pentax’s evolution, blending simplicity with advanced features, which contributed to its popularity and enduring appeal among photographers.
1.2 Key Features of the Pentax ME Super
The Pentax ME Super is a 35mm film SLR camera known for its compact, lightweight design and durability. It features a metal chassis with a plastic exterior, ensuring both strength and portability. The camera offers manual focus, aperture priority mode, and a hot shoe for external flash. It also includes a self-timer and compatibility with Pentax K-mount lenses, providing flexibility for various shooting scenarios. The ME Super is equipped with a viewfinder and a built-in light meter, making it user-friendly for photographers of all skill levels. Its design balances simplicity with advanced functionality, appealing to both amateurs and professionals.
1.3 Quick Start Guide for Beginners
For beginners, the Pentax ME Super is easy to use. Start by loading 35mm film, ensuring the film leader aligns with the red mark. Set the ISO by rotating the dial on the rear. In AUTO mode, the camera automatically adjusts exposure, allowing point-and-shoot functionality. Focus manually by turning the lens ring until the subject is sharp. Use the self-timer for hands-free shots or attach a flash to the hot shoe for low-light conditions. Experiment with aperture priority mode for creative control. Always refer to the manual for detailed settings and troubleshooting tips.
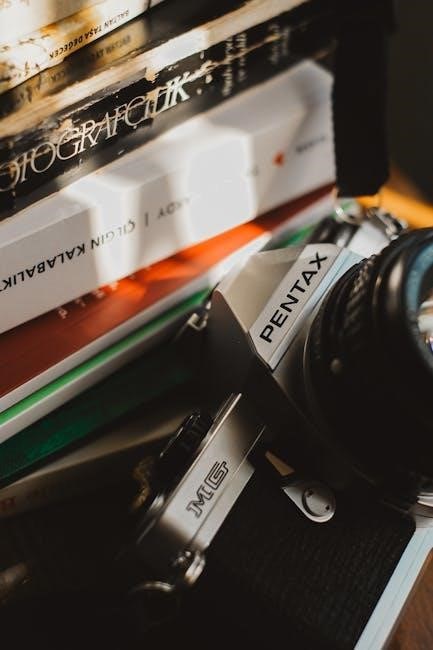
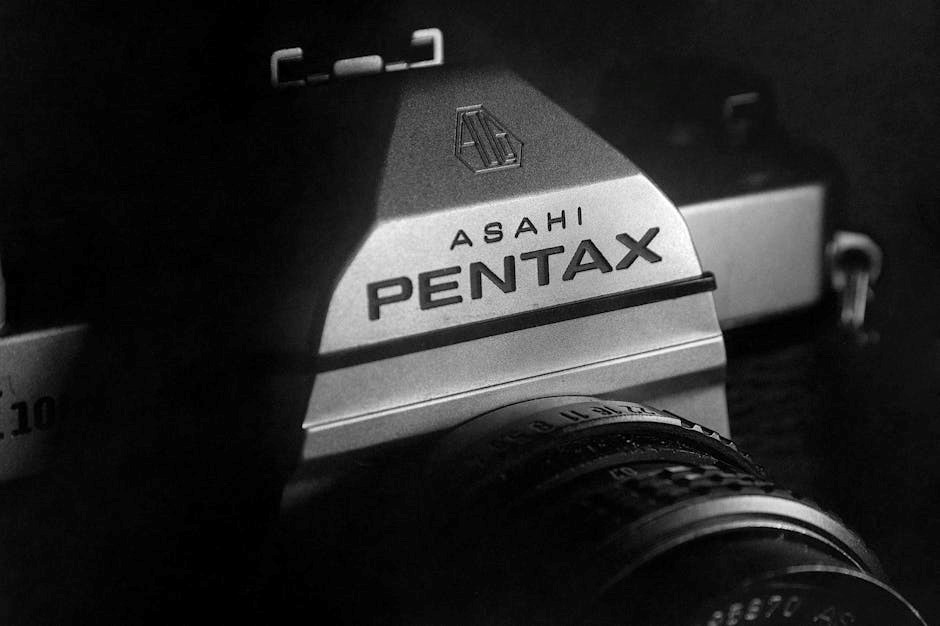
Camera Components and Accessories
The Pentax ME Super features a compact, lightweight design with a metal chassis and plastic shell. It includes a hot shoe for flash, self-timer, and K-mount lens compatibility, ensuring versatility and portability for photographers.
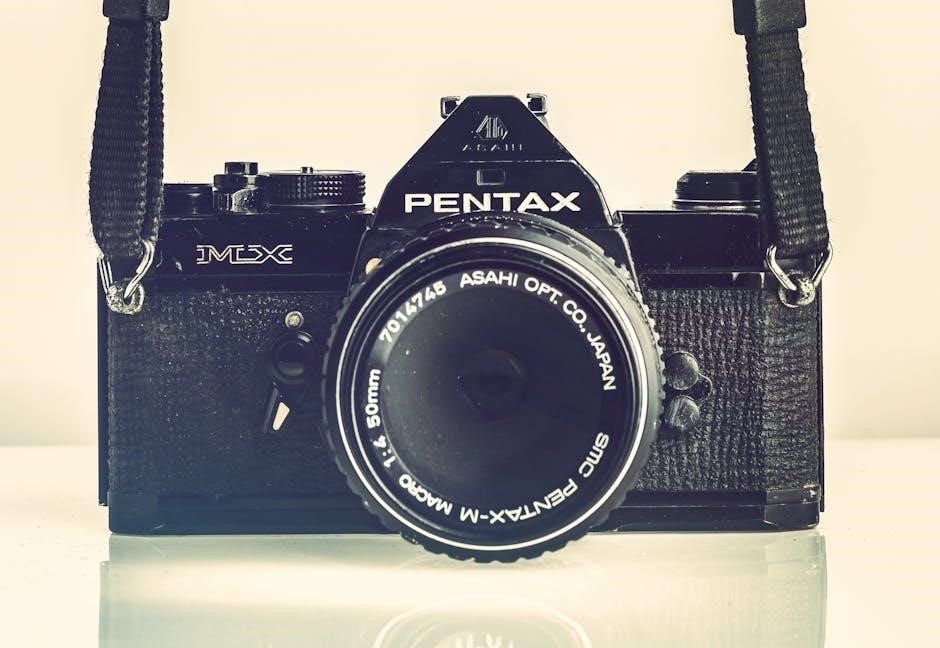
2.1 External Components of the Pentax ME Super
The Pentax ME Super features a compact, lightweight design with a durable metal chassis and plastic outer shell. Its external components include a hot shoe for flash, a self-timer lever, and a mode dial for selecting exposure modes. The camera also has a film advance lever, rewind knob, and a shutter release button. The K-mount lens system allows for easy interchange of lenses, while the viewfinder provides a clear view for framing shots. These components combine to create a user-friendly and versatile camera for photographers of all skill levels.
2.2 Internal Mechanics and Chassis Design
The Pentax ME Super features a robust internal design with a metal chassis, ensuring durability and precision. Its lightweight construction, weighing just 490 grams, makes it portable while maintaining strength. The camera’s internal mechanics include a horizontal cloth focal-plane shutter and a mirror system designed for smooth operation. The aperture and shutter mechanisms are precisely engineered for accurate exposure control. The compact design allows for efficient use of space, housing all essential components neatly. This combination of strength and portability makes the ME Super a reliable choice for photographers of all levels.
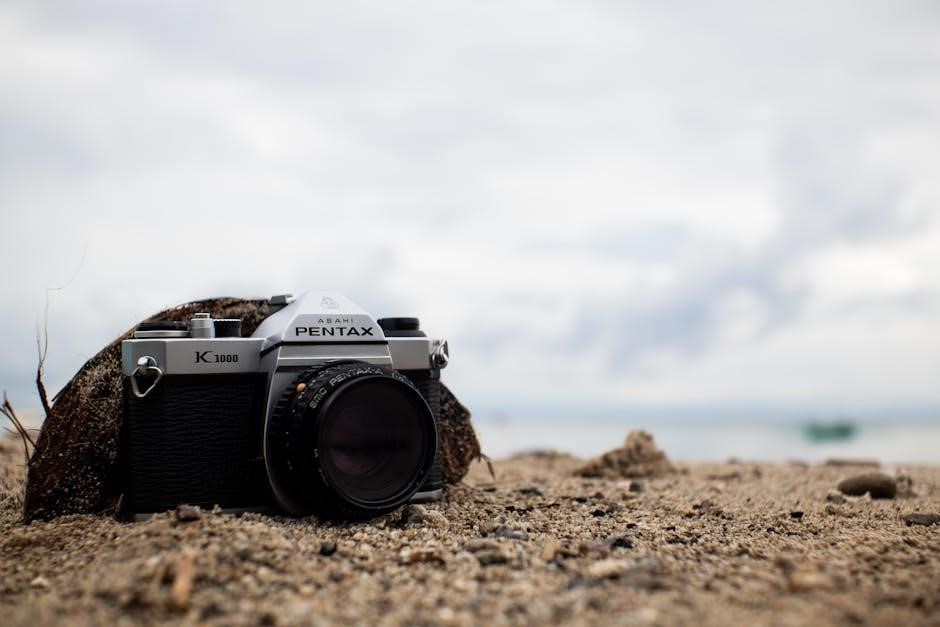
2.3 Compatible Lenses and Accessories
The Pentax ME Super is compatible with a wide range of K-mount lenses, offering flexibility for various photography needs. From wide-angle to telephoto and macro lenses, the K-mount system provides extensive options. The camera also supports external flash units via its hot shoe, enhancing low-light photography capabilities. Additional accessories include lens hoods, filters, and tripod mounts, which can be used to expand the camera’s functionality. This compatibility ensures the ME Super can adapt to different shooting scenarios, making it a versatile tool for photographers.
Loading and Using Film
Properly loading 35mm film into the Pentax ME Super ensures optimal performance. Always handle film in low-light conditions to prevent exposure. Set the correct ISO and film speed for accurate exposures. Store unused film in a cool, dry place to maintain quality. Follow the camera’s manual for step-by-step loading instructions to avoid errors and ensure your photos develop correctly.
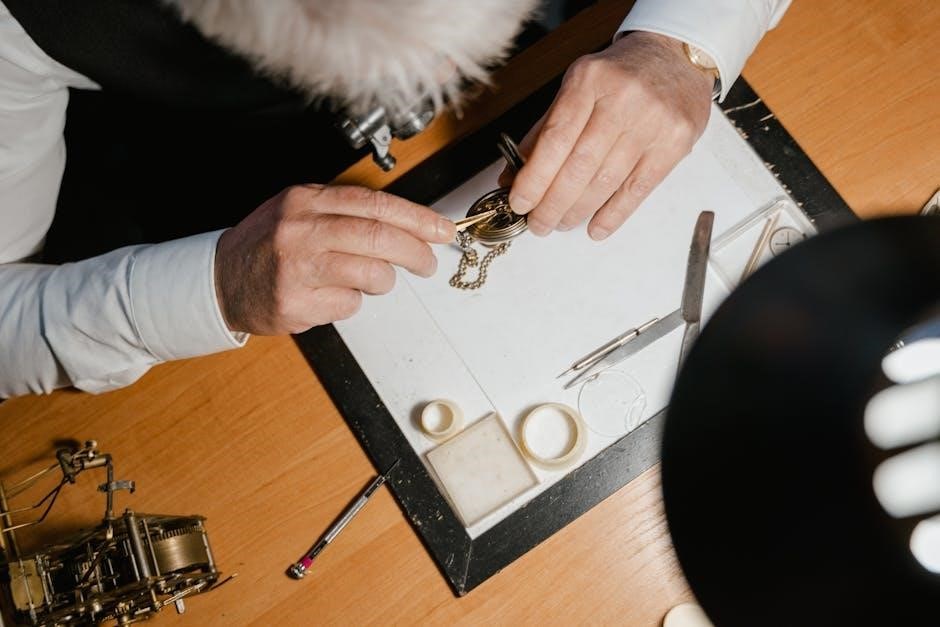
3.1 Loading 35mm Film into the Pentax ME Super
To load film, open the camera back by sliding the release latch. Align the film cartridge with the chamber, ensuring the leader enters the take-up spool. Gently pull the leader across the chamber, securing it to the spool. Advance the film by turning the rewind knob until it stops, indicating the film is properly loaded. Close the back and wind the film to the first frame. Set the ISO on the lens to match the film speed for accurate exposures. Always handle film in low-light conditions to prevent accidental exposure.
3.2 Understanding Film Speed and ISO Settings
Film speed, measured by ISO, determines the film’s sensitivity to light. Lower ISO (e.g., 100, 200) is ideal for bright conditions, while higher ISO (e.g., 400, 800) suits low-light situations. The Pentax ME Super requires setting the ISO on the lens to match the film speed for accurate exposures. Always check the film’s ISO rating and adjust the camera settings accordingly. Proper ISO alignment ensures optimal image quality, preventing under or overexposure. This step is crucial for achieving consistent results in various lighting environments.
3.3 Tips for Proper Film Handling and Storage
Always handle film in a darkroom or use a changing bag to prevent exposure to light. Store film in a cool, dry place, away from direct sunlight and moisture. Keep film in its original packaging to protect it from light. For long-term storage, place film in a film-safe container or refrigerator, ensuring it is not frost-free to avoid moisture. Avoid extreme temperatures and use silica gel packets if necessary. Always check the expiration date and use film within six months of opening for optimal results.
Exposure Modes and Settings
Exposure modes on the Pentax ME Super include Auto for ease, Manual for control, and Aperture Priority, providing flexibility for photographers of all levels with the Pentax ME Super.
4.1 Auto Mode for Beginners
The Auto mode on the Pentax ME Super is designed for simplicity, making it perfect for beginners. It automatically adjusts exposure settings, allowing users to focus solely on composition and framing. This mode eliminates the need for manual adjustments, ensuring well-exposed images with minimal effort. The camera handles aperture and shutter speed, providing point-and-shoot convenience while maintaining high-quality results. It’s an excellent starting point for new photographers to familiarize themselves with the camera before exploring more advanced modes.
4.2 Manual Mode for Advanced Users
The Manual mode on the Pentax ME Super offers full control for advanced photographers, allowing precise adjustments to aperture and shutter speed. This mode is ideal for those who prefer creative freedom and understand exposure principles. Users can manually set ISO, aperture, and shutter speed to achieve desired effects. The camera’s built-in light meter assists in determining accurate exposures. Manual mode is perfect for capturing specific moods or effects, such as low-light scenes or motion blur. It’s a versatile option for photographers seeking complete control over their shots.
4.3 Aperture Priority Mode
The Aperture Priority mode on the Pentax ME Super allows photographers to set the desired aperture, while the camera automatically adjusts the shutter speed to achieve the correct exposure. This mode is ideal for controlling depth of field, enabling creative decisions about what is in focus. The built-in light meter ensures accurate exposures, making it a convenient option for photographers who want to balance creative control with ease of use. Aperture Priority mode is particularly useful for portraits, landscapes, and scenarios where depth of field is critical.
Focusing and Metering
The Pentax ME Super features manual focusing for precise control and a built-in light meter for accurate exposure readings, ensuring sharp images and proper lighting balance.
5.1 Manual Focusing Techniques
Mastering manual focus on the Pentax ME Super involves precise adjustment of the lens focus ring. Use the microprism and split-image focuser in the viewfinder for accurate focus. For critical sharpness, stop down the aperture ring slightly to preview depth of field. Ensure steady hands and use a tripod for low-light conditions. Pre-focus on stationary subjects to speed up shooting. Practice with different lenses to refine your technique, ensuring tack-sharp images consistently.
5.2 Using the Built-in Light Meter
The Pentax ME Super features a built-in light meter for precise exposure control. In Auto mode, the meter automatically adjusts shutter speed based on the aperture and film speed. For manual control, the meter provides a needle indicator in the viewfinder, aligning it with the center mark for proper exposure. Use the aperture ring and shutter speed dial to adjust settings, ensuring the needle aligns for accurate exposure. The meter also supports aperture priority mode, offering flexibility for creative control while maintaining correct exposure.
5.3 Common Focusing and Metering Issues
Common issues with the Pentax ME Super include manual focusing challenges in low-light conditions and metering inaccuracies in backlit scenes. To address focusing, use the split-image microprism in the viewfinder for precise alignment. For metering, ensure the lens is clean and free of obstructions. In bright lighting, use a lens hood to prevent overexposure. If metering inconsistencies occur, adjust settings manually or use an external light meter. Regularly cleaning the camera and lenses helps maintain accurate performance. Proper handling ensures reliable focusing and metering for optimal image quality.
Flash and External Accessories
The Pentax ME Super supports external flash units via its hot shoe, enhancing versatility in low-light photography. Compatible with various Pentax flash units and external lighting equipment, it allows for creative control and improved illumination in challenging conditions.
6;1 Using the Hot Shoe for External Flash
The Pentax ME Super features a hot shoe for attaching external flash units, enhancing low-light photography capabilities. To use it, simply mount the flash onto the hot shoe, ensuring it clicks securely into place. The camera synchronizes automatically with compatible flash units, providing accurate exposure control. For optimal results, use Pentax-recommended flash units or those designed for K-mount cameras. Always test the flash synchronization before shooting to ensure proper function and avoid overexposure. This feature adds versatility for capturing well-lit images in challenging lighting conditions.
6.2 Syncing with External Lighting Equipment
To sync the Pentax ME Super with external lighting, use the PC sync socket or adapters compatible with the hot shoe. Set the camera’s sync speed to 1/125s for optimal results. External flashes and studio strobes can be connected via sync cords or wireless triggers. Ensure all equipment is set to the same sync speed to avoid overexposure or misfires. Testing the setup before shooting is recommended. This feature enhances control over lighting, allowing for professional-grade results in various photography settings, including studios and events.
6.3 Recommended Flash Units for the ME Super
The Pentax ME Super is compatible with various flash units, including the Pentax AF-200FG, AF-240FT, and Vivitar 283. These flashes offer reliable performance and easy synchronization. The AF-200FG is compact and ideal for everyday use, while the AF-240FT provides more power for distant subjects. The Vivitar 283 is a popular third-party option known for its durability and versatility. When choosing a flash, ensure it supports the camera’s sync speed of 1/125s for optimal results. These units enhance lighting control, making them excellent choices for photographers seeking professional-grade illumination.
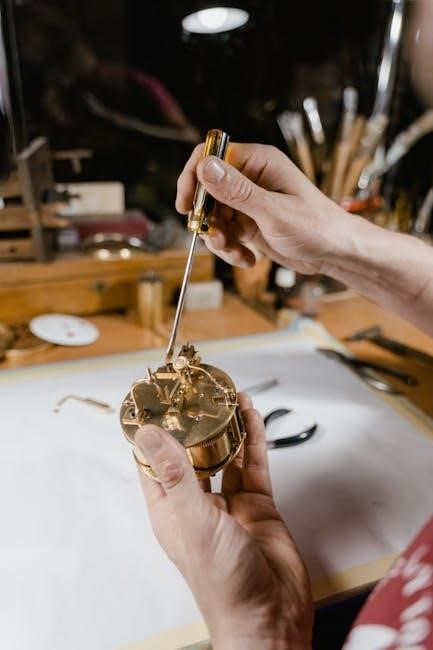
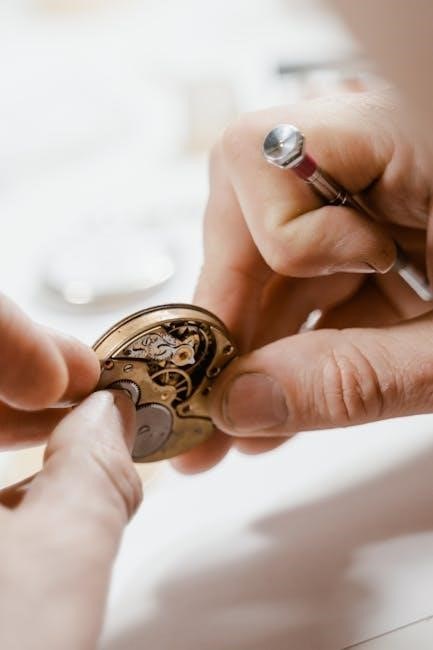
Maintenance and Troubleshooting
Regularly clean the camera and lenses to prevent dust and dirt buildup. Inspect the shutter curtains for tears and ensure proper light meter accuracy. Address common issues promptly, such as jammed film or faulty aperture, and store the camera in a dry, cool place to maintain its condition.
7.1 Cleaning the Camera and Lenses
Regular cleaning is essential to maintain the Pentax ME Super’s performance. Use a soft, dry cloth to wipe the camera body and viewfinder. For the lenses, gently remove dust with a microfiber cloth or a lens brush. Avoid harsh chemicals or abrasive materials that could damage the surfaces. For stubborn smudges, apply a small amount of lens cleaning solution to a microfiber cloth and wipe in a circular motion. Never touch the lens elements with your fingers. Store the camera in a protective case to prevent dust accumulation.
7.2 Common Issues and DIY Repairs
The Pentax ME Super may experience issues like battery drain or mirror sticking due to aging. For minor repairs, clean the battery compartment with a cotton swab and replace old batteries. If the mirror sticks, gently clean it with a soft brush. For lens misalignment, adjust the focus carefully. Avoid using harsh chemicals or forcing parts. For complex issues, consult a professional. Regular maintenance and proper storage can prevent many problems, ensuring the camera remains functional for years.
7.3 Storing the Camera Properly
Proper storage is essential to maintain the Pentax ME Super’s condition. Clean the camera thoroughly before storage, using a soft cloth and avoiding harsh chemicals. Store it in a cool, dry place away from direct sunlight. Use silica gel packets or airtight containers to prevent humidity damage. Avoid leaving film in the camera during storage. Keep the lens capped to protect it from dust. For added protection, store the camera in its original case or a padded pouch. Regularly inspect the camera to ensure no moisture or mold is present.
Advanced Shooting Techniques
Explore creative photography with the Pentax ME Super’s advanced features. Experiment with multiple exposures, long exposures, and filters to enhance your images and achieve unique effects effortlessly.
8.1 Multiple Exposures and Long Exposures
The Pentax ME Super offers advanced techniques like multiple exposures and long exposures. For multiple exposures, set the mode and adjust the frame counter. Use the lock-up mirror to prevent vibrations. Long exposures are ideal for capturing light trails or nightscapes. Set the shutter speed to ‘B’ and use a remote release. These features allow creative control, enabling unique and artistic photography with ease and precision, making the ME Super a versatile tool for experimental shooters.
8.2 Using Filters and Other Accessories
The Pentax ME Super supports various filters and accessories to enhance your photography. Use 49mm threaded filters like UV, polarizing, or color graduated filters to achieve desired effects. Attach filters by screwing them onto the lens. Additionally, lens hoods reduce flare, while close-up adapters enable macro photography. These accessories expand creative possibilities, allowing photographers to experiment with lighting, colors, and composition. Properly using filters and accessories can significantly improve image quality and versatility, making the ME Super a flexible tool for diverse shooting needs and artistic expression.
8.3 Creative Shooting Modes and Tips
The Pentax ME Super offers creative shooting modes like multiple exposures and long exposures, allowing photographers to experiment with unique effects. Multiple exposures enable capturing several images on one frame, while long exposures create stunning light trails or blur effects. For best results, use a tripod to avoid camera shake. Experiment with different aperture and shutter speed combinations in manual mode to achieve desired artistic effects. These modes and techniques expand your creative possibilities, making the ME Super a versatile tool for expressive photography and capturing distinctive moments.